
Biscuit: Separate the egg whites from the egg yolks and beat them until stiff. Mix egg yolks with powdered sugar until a foamy mixture is formed. With a spoon, gradually add egg whites to the other ingredients and stir until they get well combined. Then, gradually add strained flour and stir again until smooth. Pour the biscuit into the baking tray and bake at 180 degrees for 25-30 minutes. Once the biscuit is baked, let it cool. Then break it into as small pieces as possible (I use a chopper for that). Preparation of biscuit additions and shaping balls: In a separate bowl with a hand mixer mix together Nutella, Mascarpone cheese and boiled, ground and chilled raspberries. Add the chopped biscuit to this mixture and stir until ingredients get well combined. Check if the mass is juicy enough. If not, add more wet ingredients. Place the mass in the refrigerator for a few hours. Once the mass has cooled, take it out of the fridge and form balls (of 50g/ball) out of it with an extension that will be placed in the cone. Take 50g of chocolate drops and melt them in the microwave. Spread them on the inside of the cones with the opposite side of the teaspoon and immediately place the balls, with the extension downwards, into them. Once the balls are standing in the cones, place them into the stand and in the fridge for an hour. Chocolate dipping: Melt the chocolate drops in the microwave. Make sure you put the chocolate in a suitably deep bowl, as this will make dipping much easier. Place the cones out of the fridge and dip one by one in the melted chocolate and let the excess chocolate drain off (you can fasten this process by tapping the cone lightly with your fingers). Return the dipped cones to the stand and start decorating immediately afterwards, as the decorations on the hardened chocolate will not adhere well. Decoration: Decorate the cones as per your taste. I really like to use dried edible flowers and sugar pearls of different colors and sizes. Once the cones are decorated, place them in the refrigerator and wait a few hours for them to harden completely. While melting the chocolate in the microwave oven, set the time to 30 seconds and take the bowl out of the oven every 30 seconds, mix the chocolate well before placing it back in the microwave. Repeat until the chocolate is completely melted. (No Ratings Yet)
![]() Loading...
Loading...Ingredients
Instructions
Notes
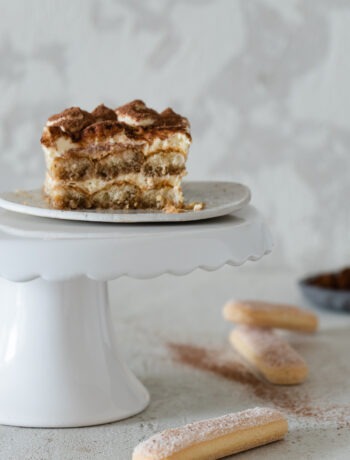
OTHER DESSERTS
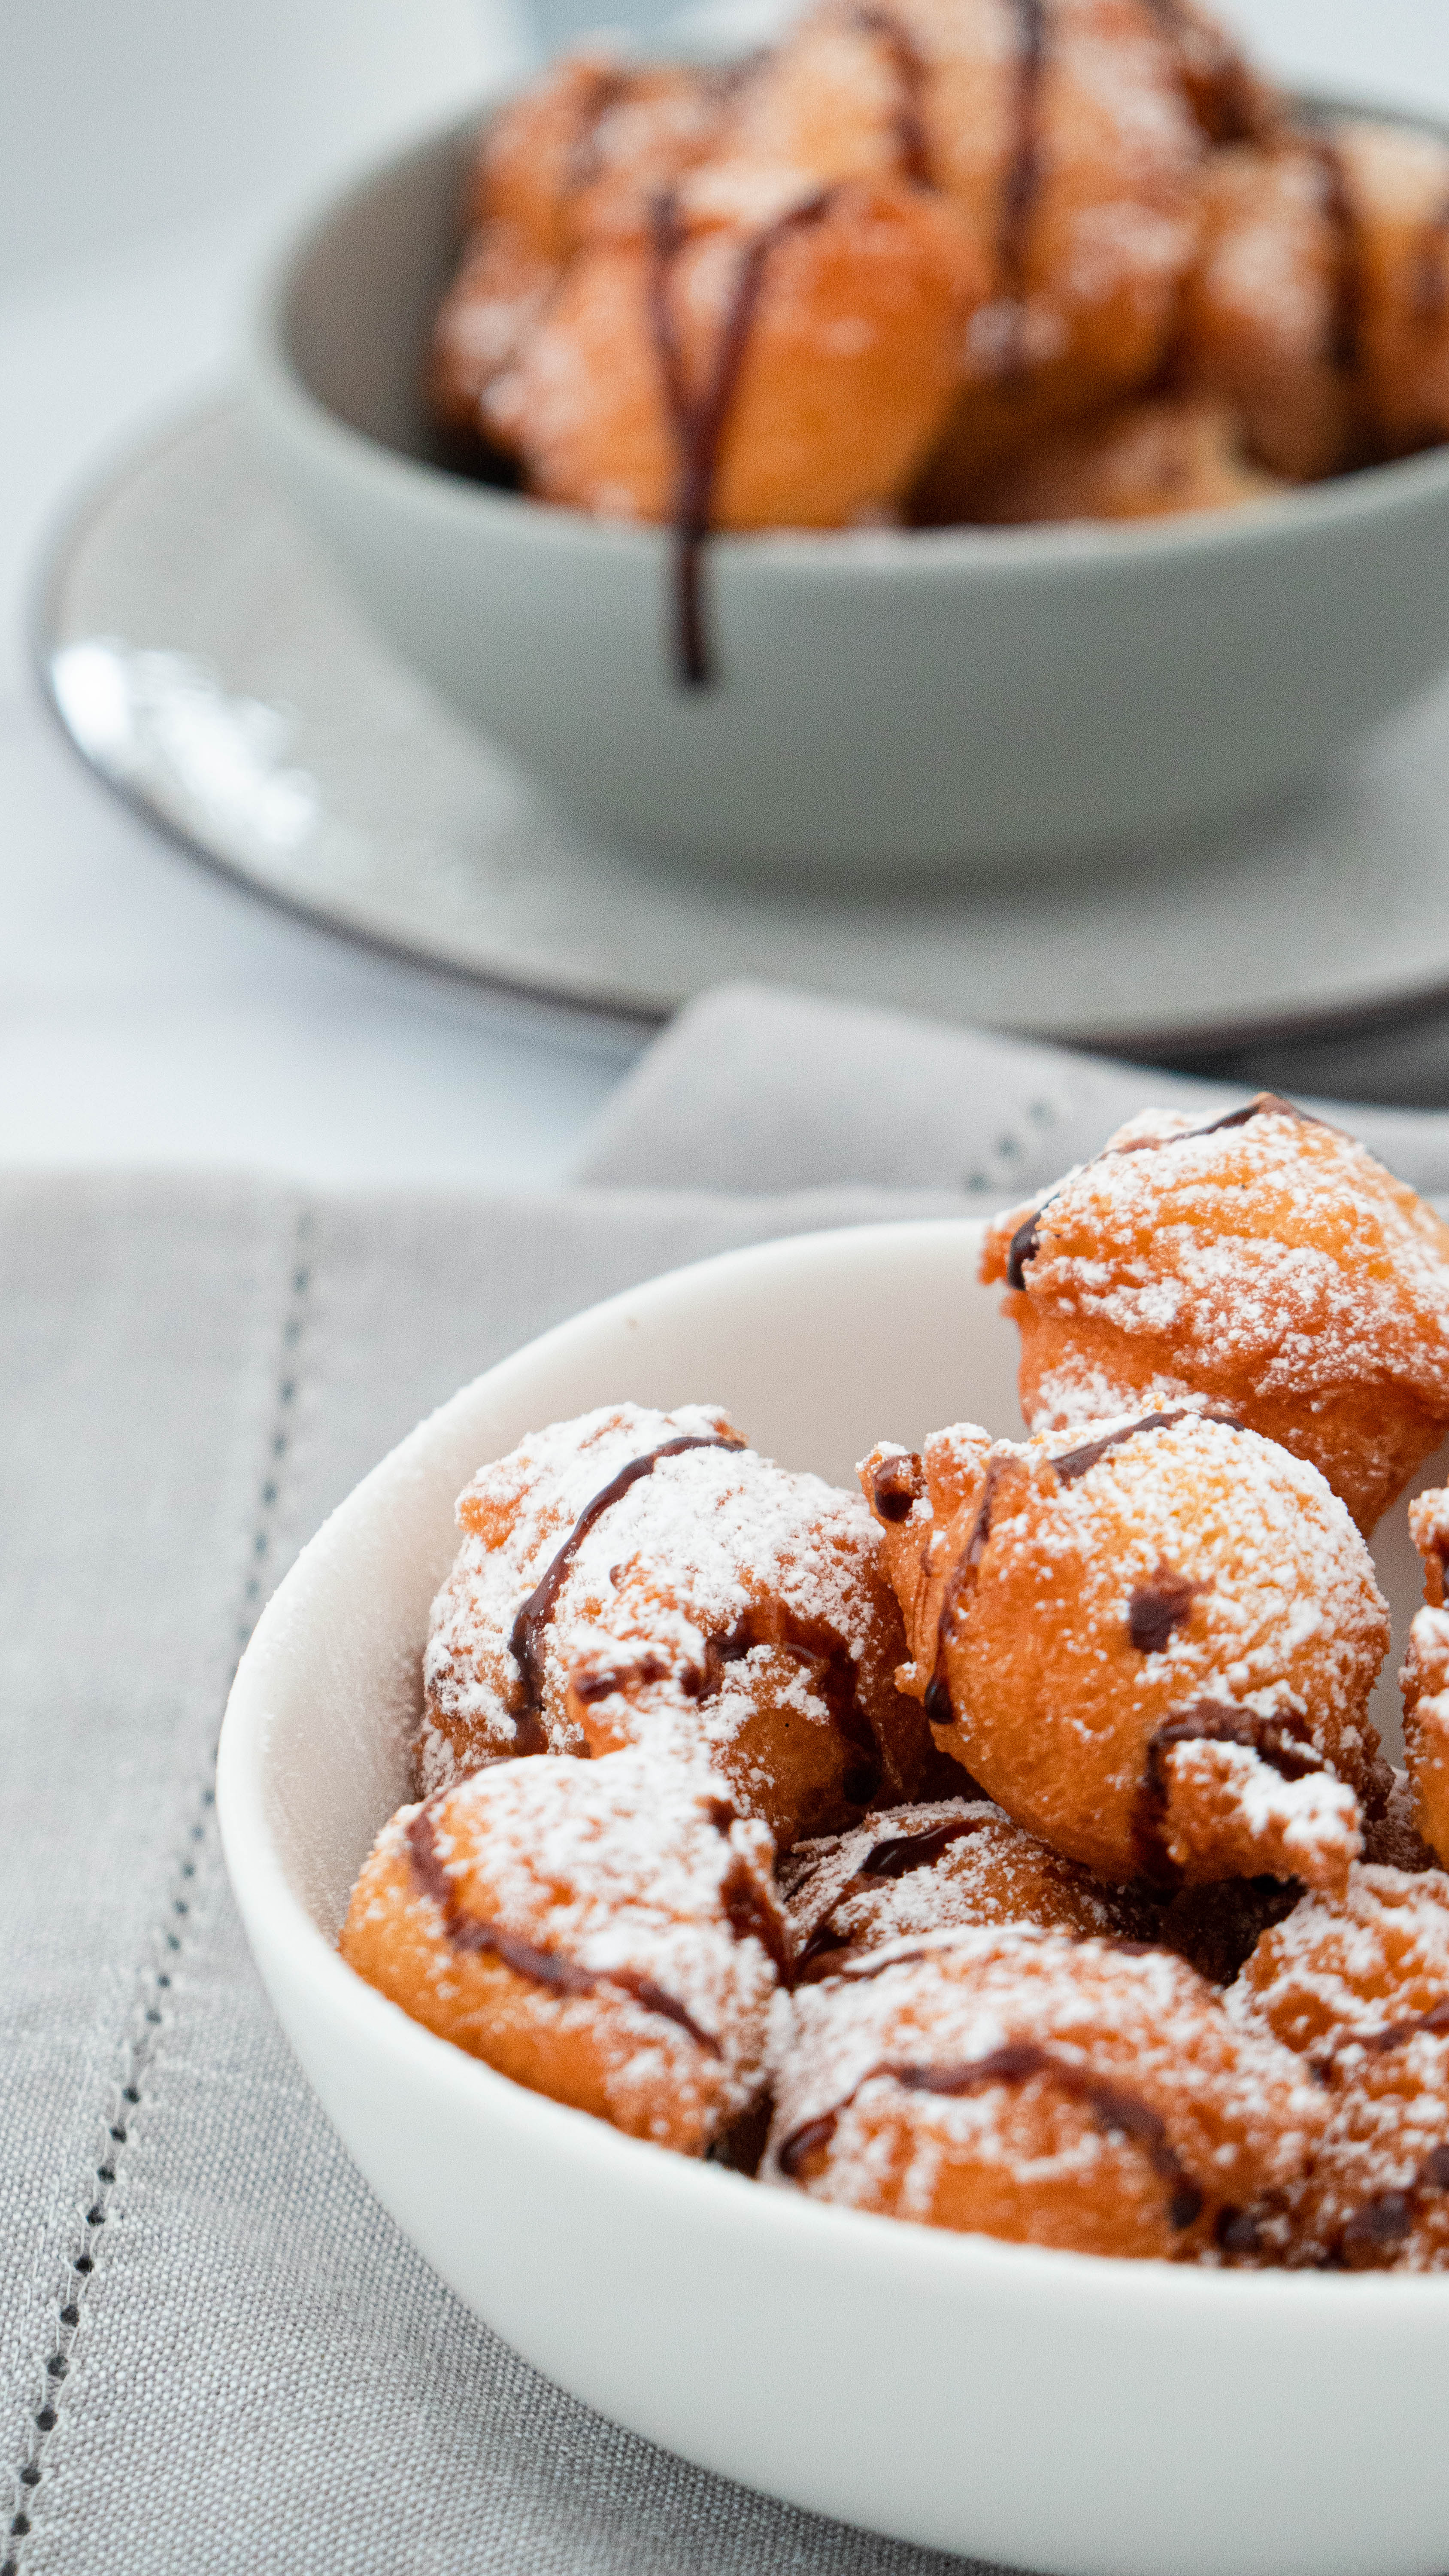
MINI CHOCOLATE CONE CAKE POPS WITH RASPBERRIES


1
2
3
4
5

No Comments