

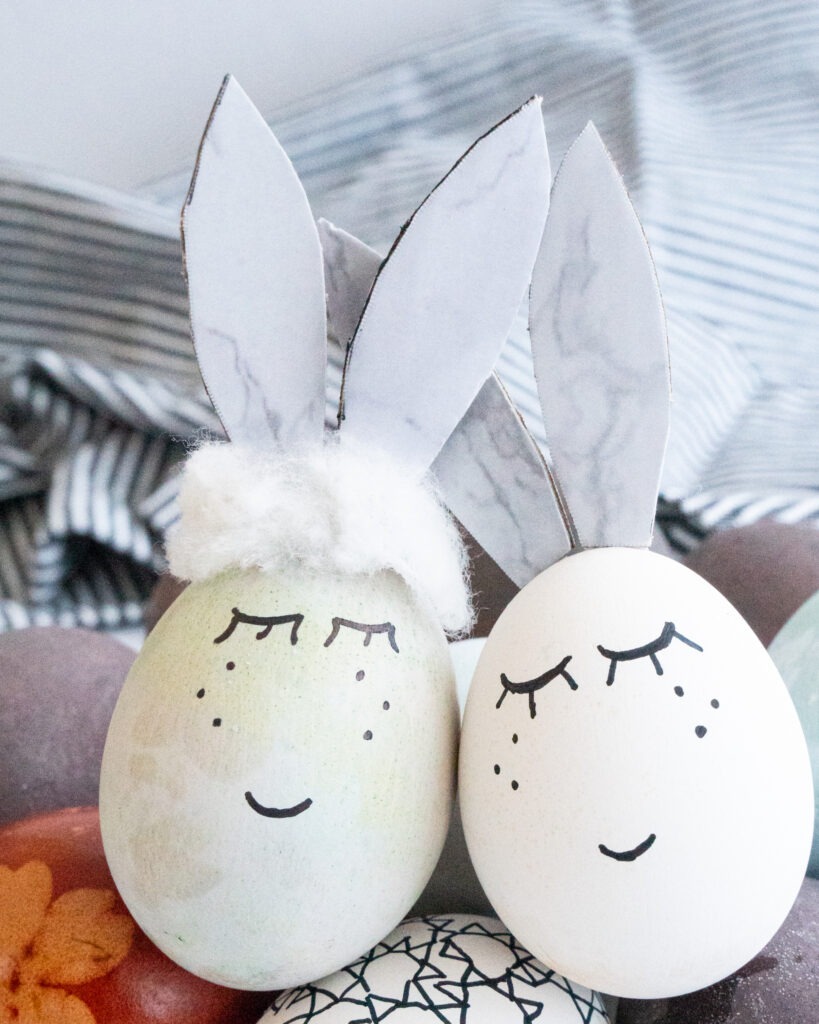
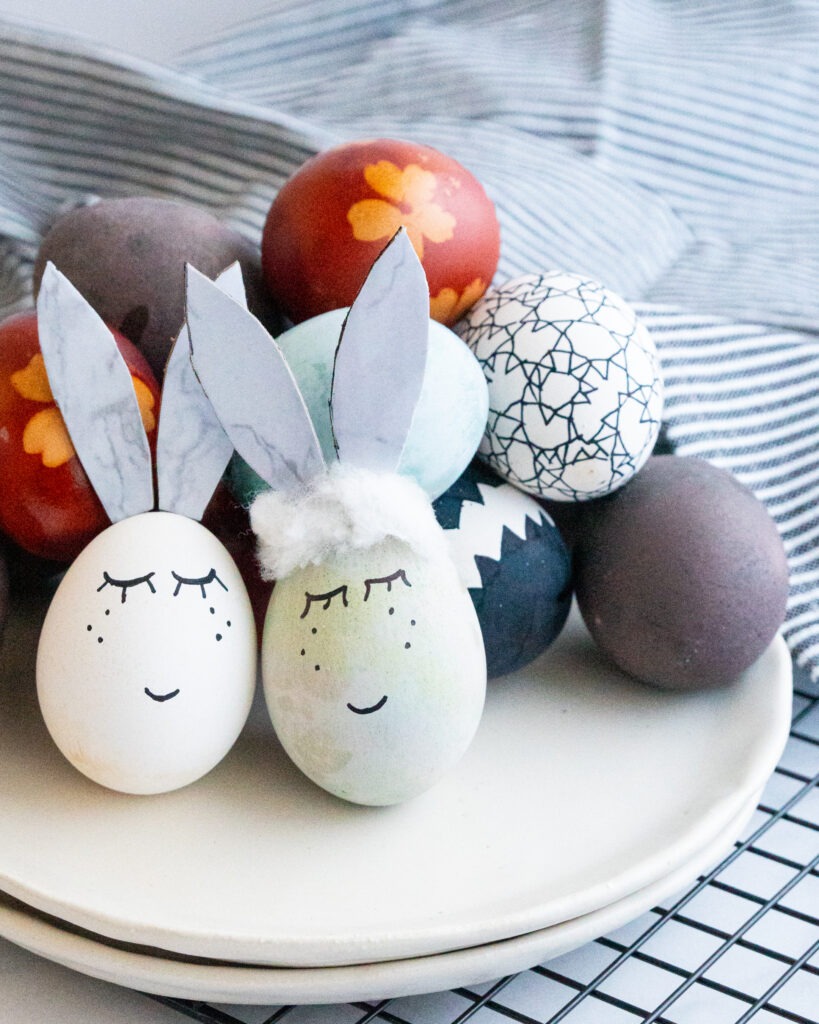
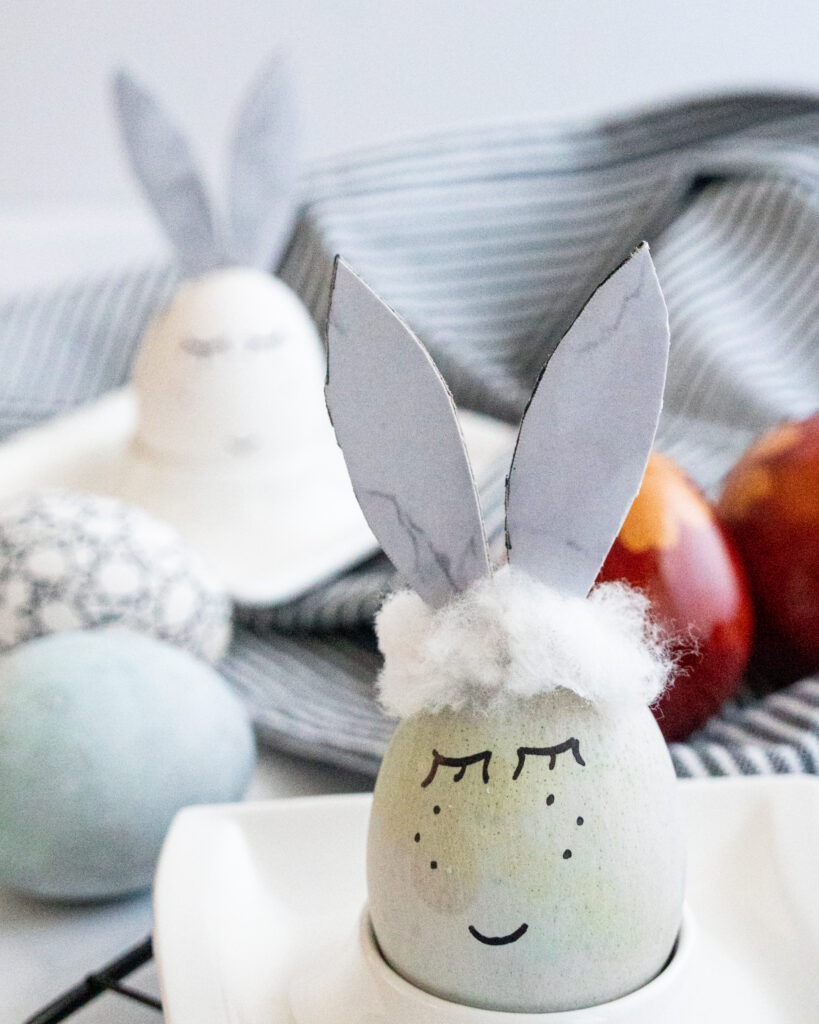
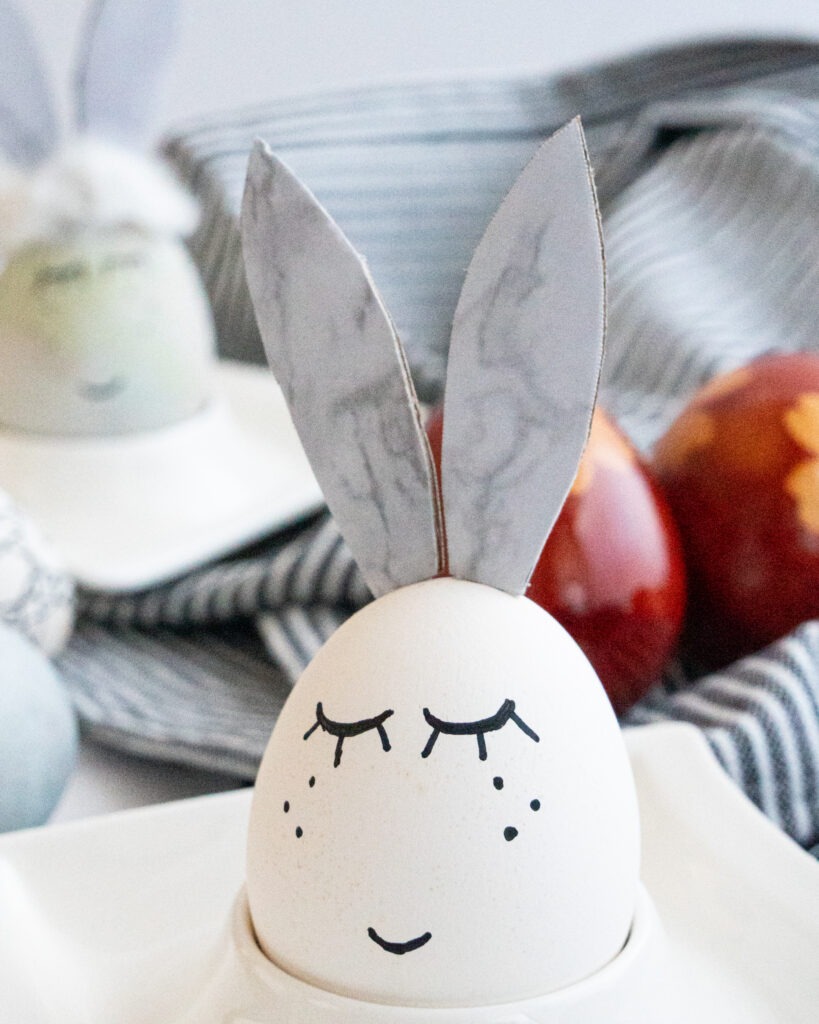
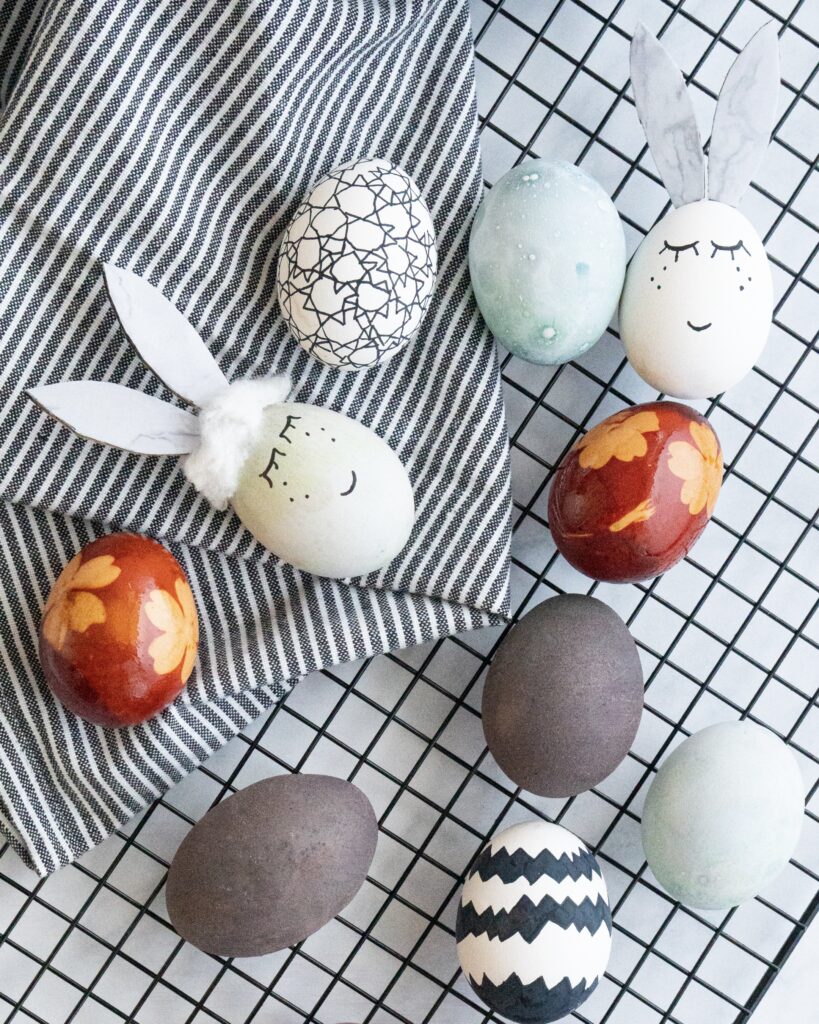
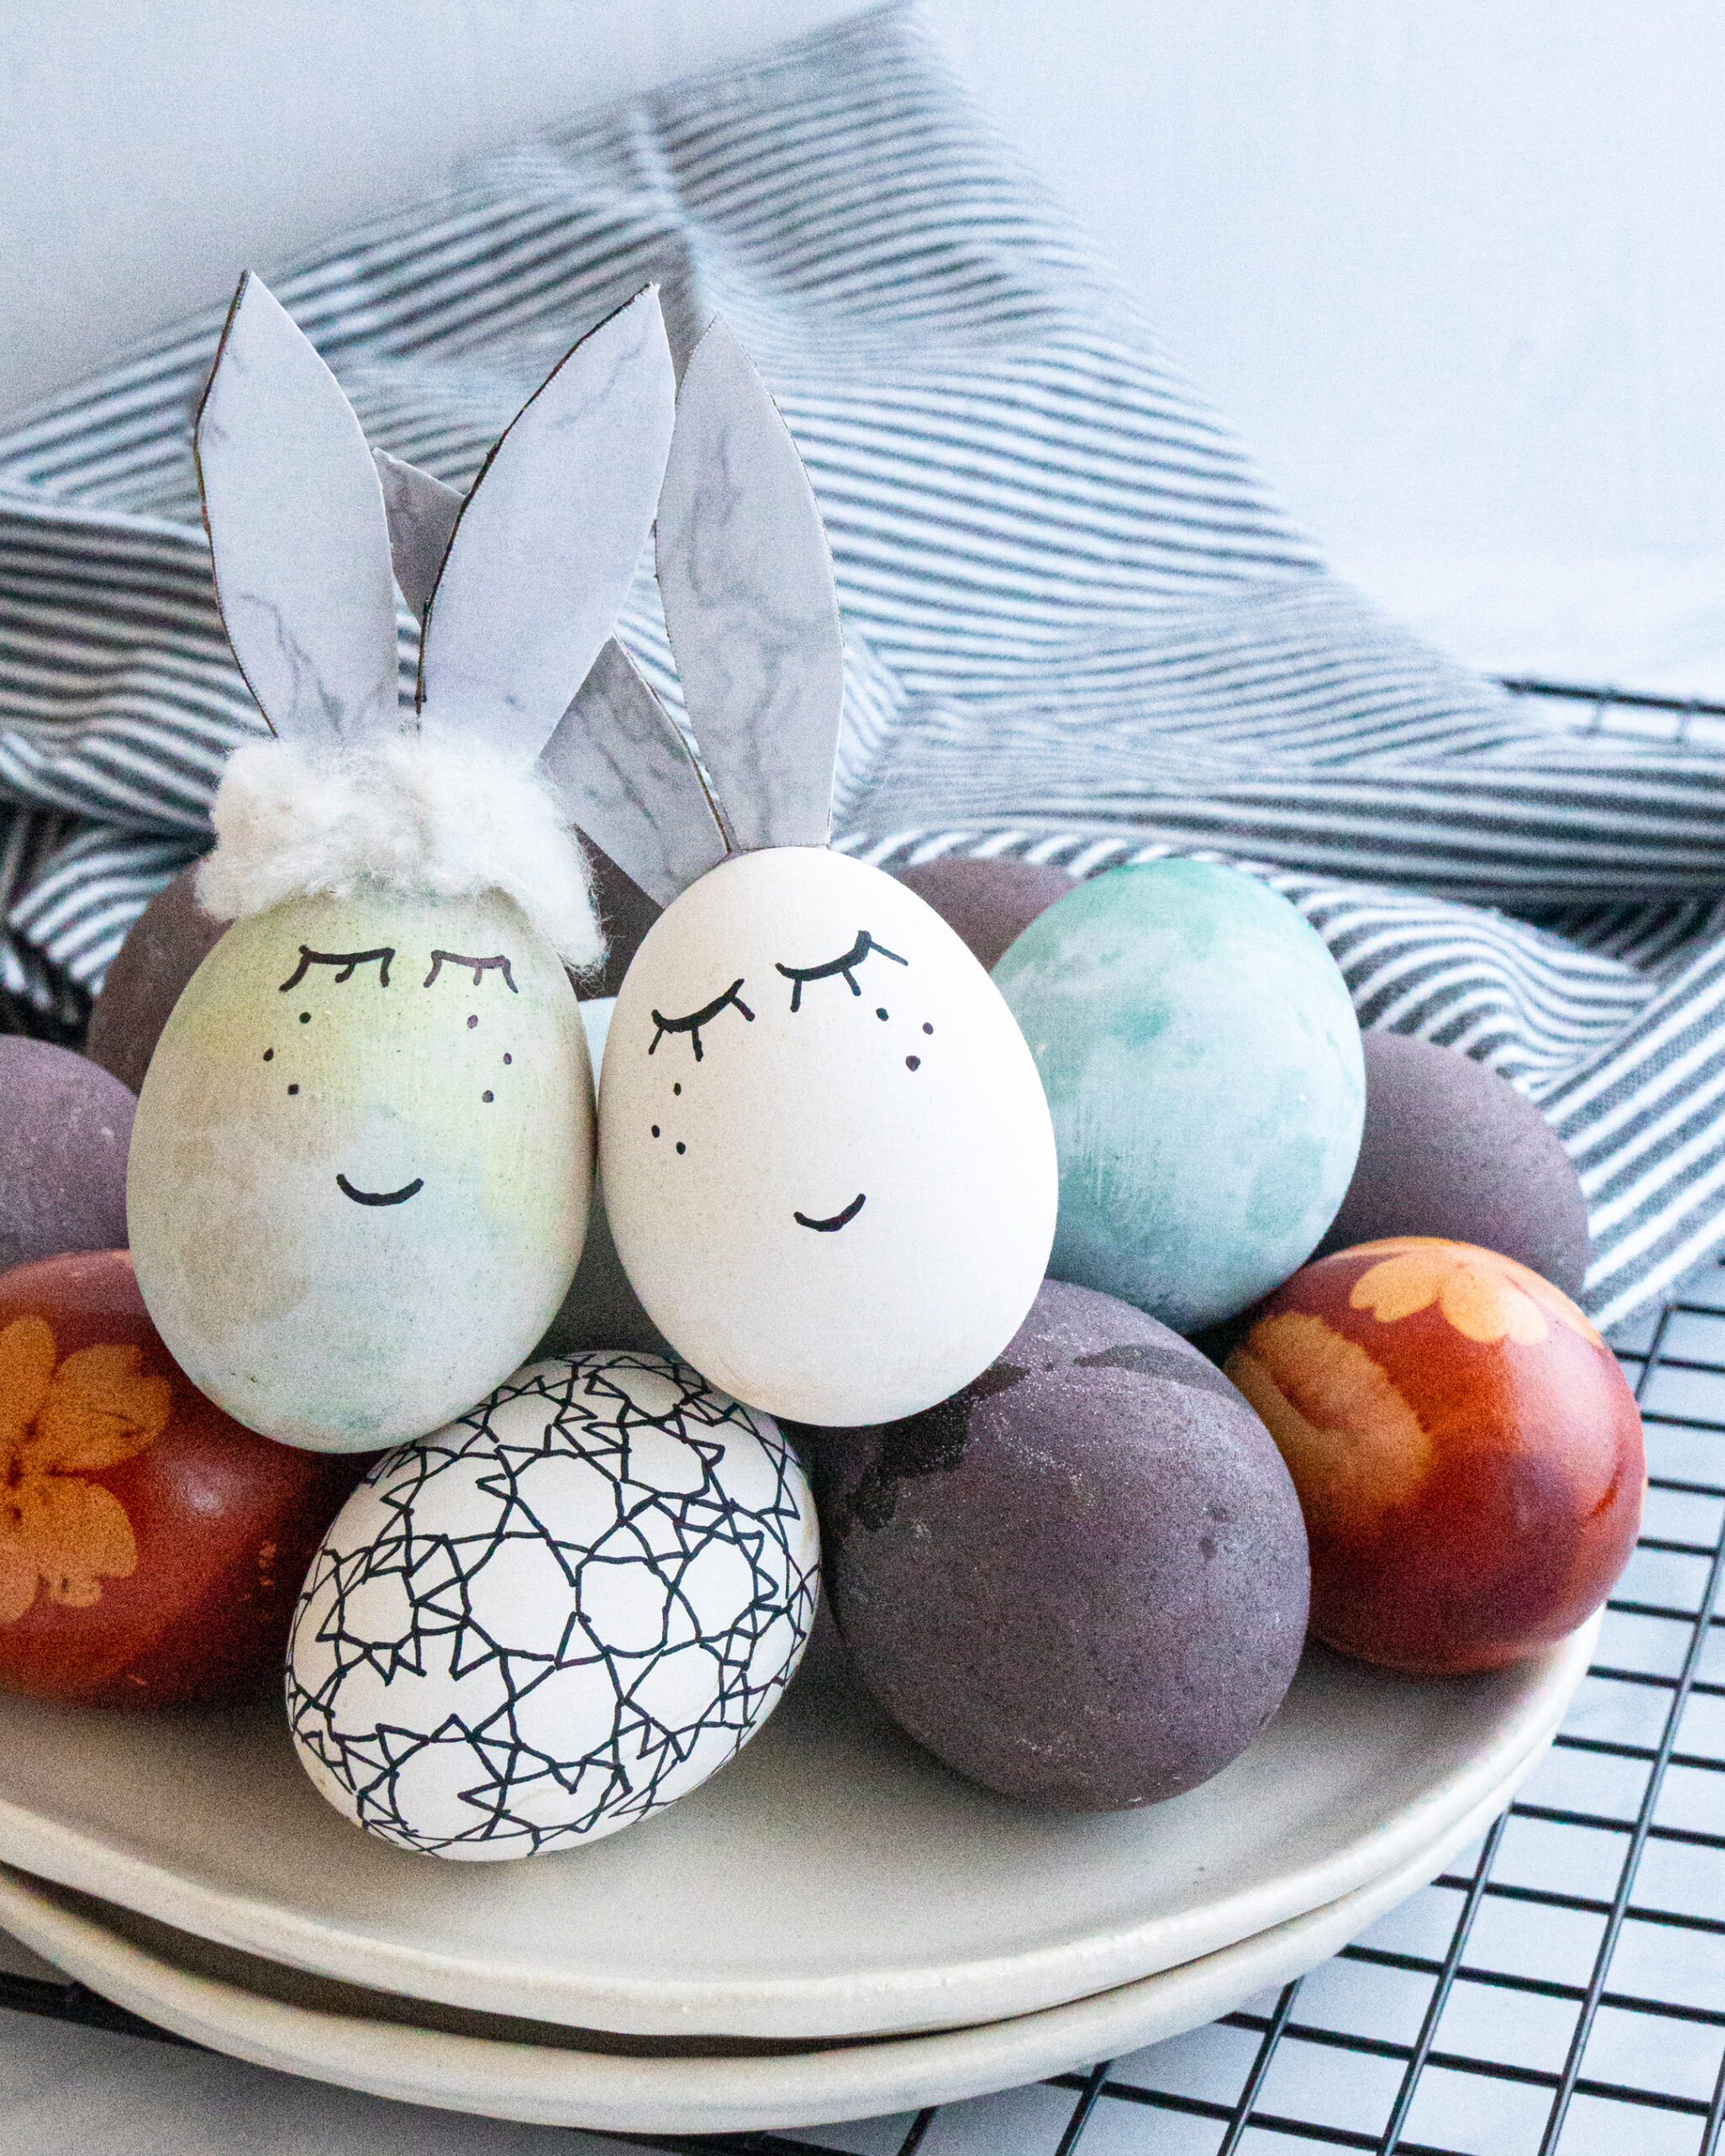
As Easter holiday is approaching, most families have already started with the dyeing of Easter eggs. Find below the description of six techniques I did. I hope you will find them useful. 1. Egg whitening and dyeing: Pour the mixture of cold water and vinegar (1:1 ratio) and eggs into the pot. Boil the mixture. Once boiled, reduce the intensity to a moderate heat (if you use the induction, cook at intensity level 5). Cook for 8 minutes and remove from the induction/stove. Let everything rest in the water for another 2 minutes. With the help of a tablespoon, carefully fold the eggs onto a plate. Under water, gently rub each egg with a wire kitchen sponge until it becomes snow-white. Dye the eggs with water-, tempera-colours or colour-markers of choice. 2. Blown Easter Eggs: Take a raw egg, needle or other sharp object that you properly disinfect before and after its usage. Carefully make a small hole at the top and bottom of the egg through which you blow the out the egg white and yolk (I helped myself by placing the egg into an egg cup so that it was fixed and I could easily make a hole in the middle. I repeated the same procedure on both sides). Then, decorate the egg as you want. Finally, cut a short string, which you pass through both holes with the help of a toothpick. Make a knot at the bottom of the egg and form a circle at the top. Now you have a beautiful pendant which you can place on your flowers. 3. Nail Polish Easter Eggs: Blow the eggs in the way described in the 2nd point of this article. Then repeat the egg whitening process from the first point of this article. You can pour some water into the egg before putting it into the water/vinegar mixture, so that it will dip to the bottom during cooking. Take the egg out of the water, let it cool slightly and then blow out the accumulated water. Take extra care while rubbing it with a wire kitchen sponge, because the shell is very fragile. Once the eggs have been whitened and blown, start dyeing them with a nail polish. First, put on protective gloves so that you do not get dirty during the preparation. Choose a set of your favorite nail polish colours. Pour the water into a plastic glass. The water must have room temperature. While using a brush, drop the nail polish into the water step by step and make it appear on the water surface. With the help of a toothpick, you can shape lines or other patterns of choice. Immerse the eggs one by one into the water by first staining one half of the egg. Dry it with the unpainted layer down. Repeat the process on the other side. WARNING: Nail Polish Easter eggs are not edible, so do not cook them but rather use a blown egg to bake some dessert. Once the egg white and yolk are taken out of the egg shell, you can freely use the nail polish technique. 4. Easter Eggs With Red Wine: Gently rinse the eggs under water and dry them with the help of a dish towel. In a larger pan, pour water and 2 tablespoons of vinegar. Let the eggs rest in the mixture for about half an hour. This will make the shell firmer and make the color more vivid. Take the eggs out of the pan and lay them into a pot of Teran or Refosco (a ratio of about 1 L of selected wine per 10 eggs - the wine must completely cover the eggs). Allow the wine to boil and then cook over low heat (at induction intensity level 5), for about 12-15 minutes. Remove from the induction/stove. Leave the eggs in the wine for at least a few hours, or even better overnight. Only then will the eggs form crystals. 5. Easter Eggs Dyed in Onion Skins: Go into the nature and collect fresh clovers, dandelions or other edible flowers. Wrap them around the egg with the help of a string or an old nylon. Wet the ornamental flower with water and press it on the egg thoroughly with your fingers so that it does not move during cooking. Pour water into the pot to cover the eggs completely, then add the onion skins and a tablespoon of vinegar to prevent the egg whites from spilling. Cook for about 8-10 minutes and remove from the induction/stove. Leave the eggs to rest in water for another 2 minutes. When the eggs have cooled slightly, unfold them, remove the string or nylon and if necessary coat with grease to glow. 6. Marbled Blue Easter Eggs: First, let's follow the technique of egg whitening according to the instructions from the first point of this article. Wash the red cabbage and cut it roughly. Transfer it to a larger pot and cover it with water. Bring the mixture to a boil. Then reduce the heat (strength 5-6) and simmer for about 30 minutes. Strain the boiling water into a new pot and add vinegar and two tablespoons of salt and allow to cool to room temperature. To achieve a marbled effect on the eggs, put the freezer bags on your hands. Spread the butter evenly over the inside of your palms. Take the bleach-egg in your hand and gently pass it from one hand to the other. When done, place it in cabbage water with the help of a tablespoon and turn it to color evenly. Leave the old one in the water for a few hours (the longer you leave, the darker blue the egg turns). Spoon it out of the water and place on a wire rack to dry. Repeat this method with each egg. (If you want your eggs to only turn blue color, you don't have to apply the butter method. Just put the eggs in the cabbage water.)EASTER EGG DECORATION IDEAS
 (No Ratings Yet)
![]() Loading...
Loading...Ingredients
Instructions
EASTER/ HOLIDAY DISHES/ RECIPES
EASTER EGG DECORATION IDEAS
1
2
3
4
5
6
No Comments